Group Trips
Group Trips
Group trips have all of the same features that standard trips have, so if you skipped the first three sections we recommend going back to review those first!
You can think about Group Trips like a folder or binder to keep multiple trips bundled together.
The individual trips within the group are called Reservations.
You can have multiple travelers on a Reservation, just like you can on a standard trip.
Create a reservation for each group of people that are booked together.
Step 1: Start a Trip
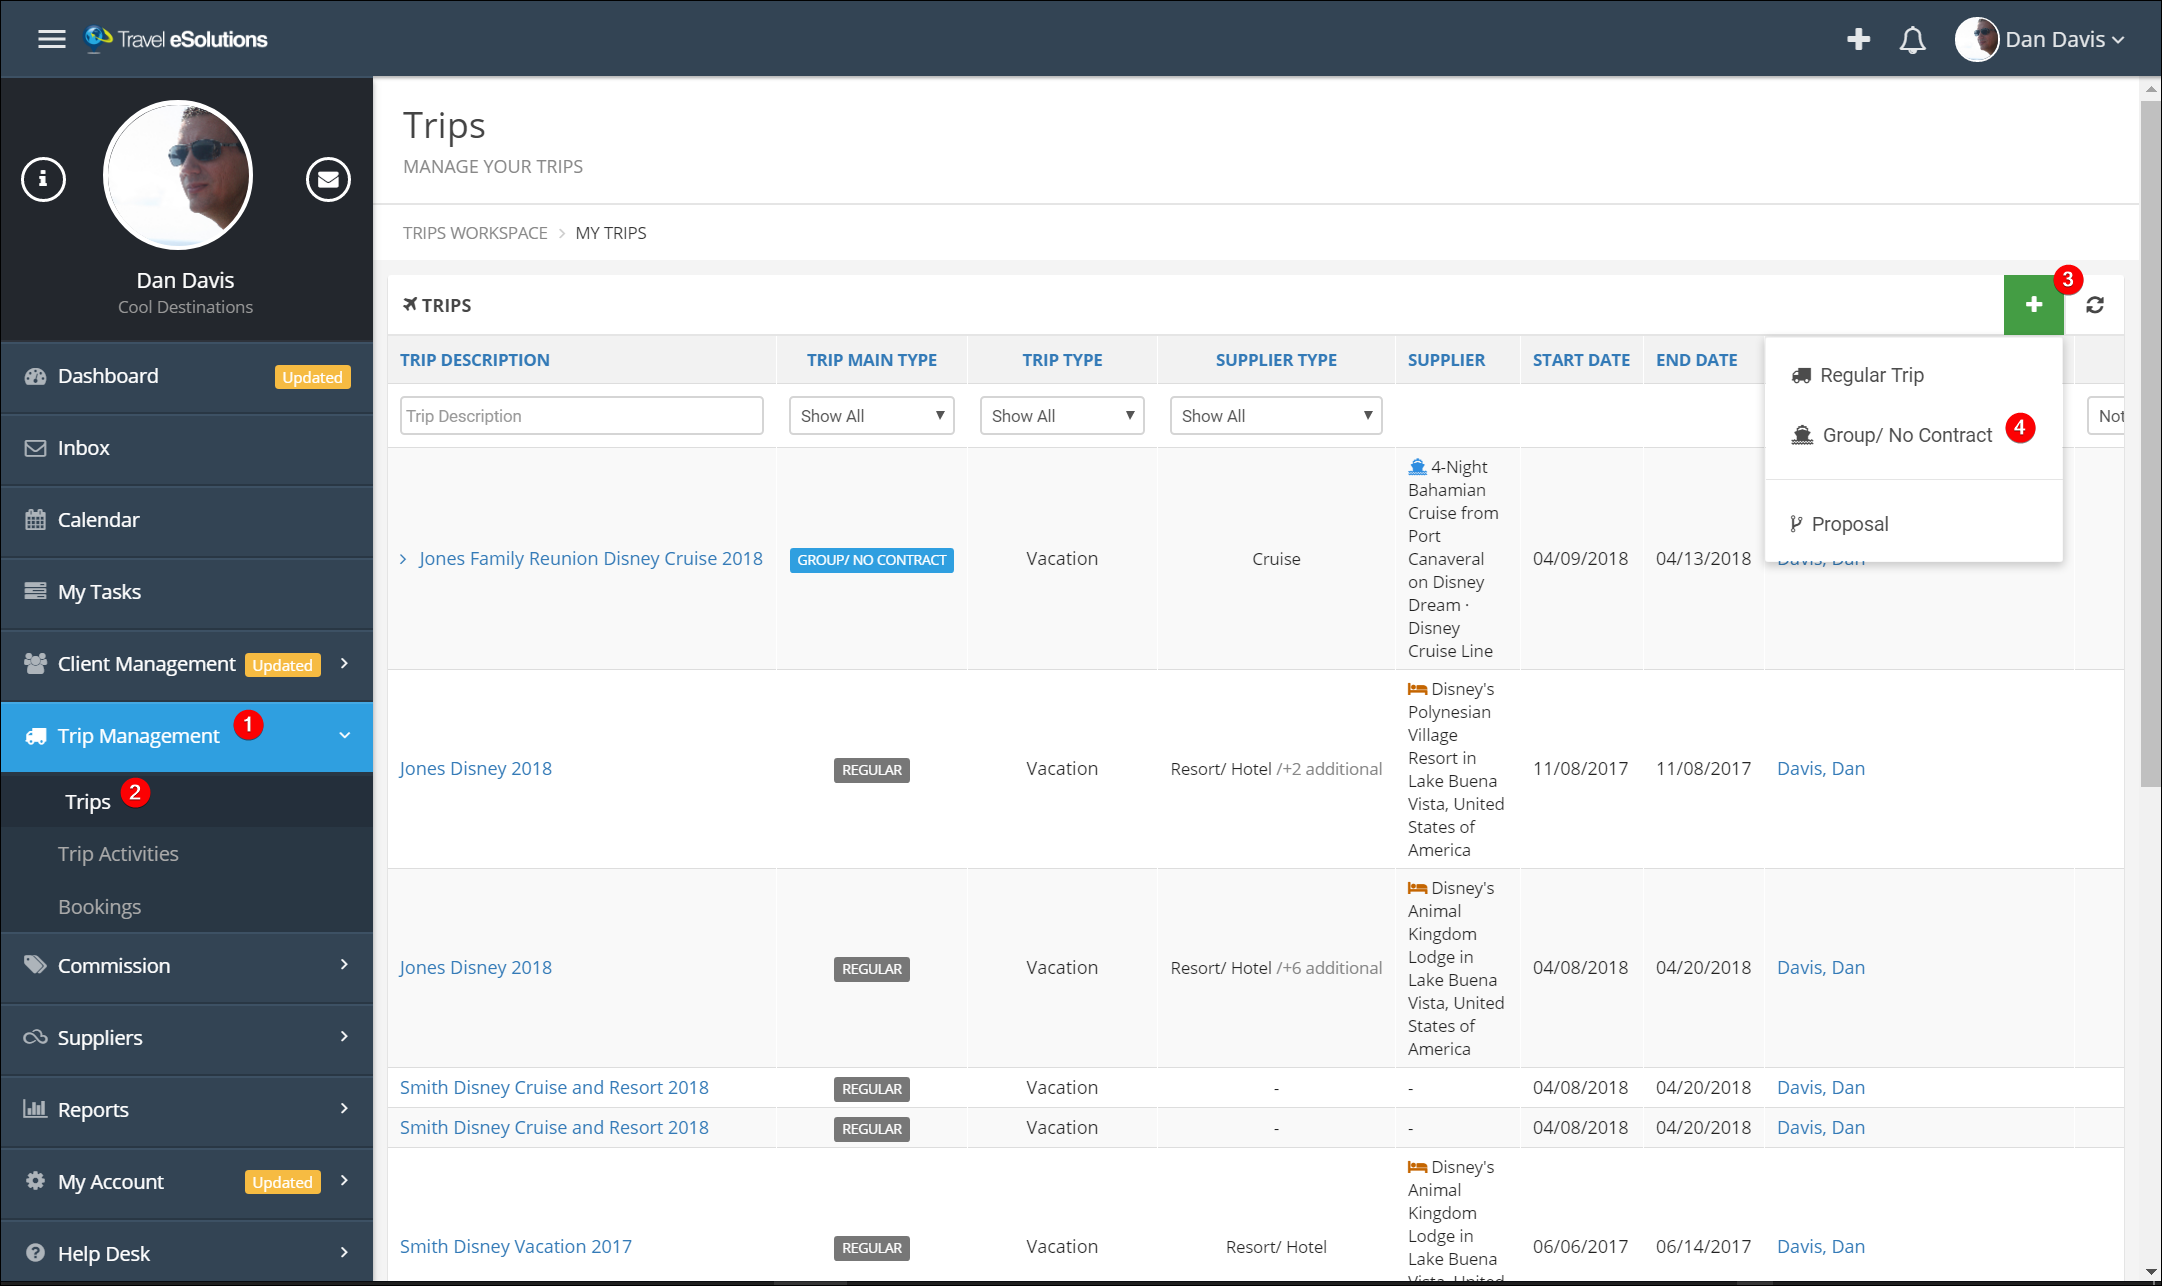
- Click Trip Management.
- Click Trips to view your full list of trips.
- Click the green and white plus icon (+).
- Choose Group/No Contract.
It is OK if your trip has a contract, this just means that TESS is not managing the contract.
We will be introducing contract management in the future.
Set up the Group
- Choose the trip type. This is used for tracking and triggering automation.
- Enter the Group Number.
If you received a group number from your supplier use that number, if not you can create your own. - Enter the Tour Operator (supplier, wholesaler, etc.) that will be used for the primary booking.
- Enter the group start and end dates.
Individual reservations can have different dates for travelers that have different travel plans. - Click "Add Resort", "Add Cruise", or "Add Tour" to add the common travel plans.
This will be the itinerary item or items that the entire trip will have. You will be able to add more detail to individual travelers on their reservation. - Search for the itinerary details.
- Click Save
You can additional itinerary items here, but only add the major things that apply to the entire group.

Add Reservations
Reservations are like a "trip within a trip". The group trip will contain information for the overall group and each reservation will contain the details for the people traveling and staying together. Each reservation can be invoiced separately and can contain unique itinerary items, allowing you to customize each traveler or family and generate itineraries for them.
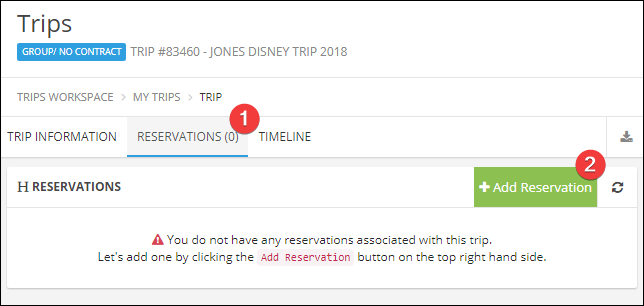
- Click Reservations.
- Click Add Reservation.
The Reservation will default to the group Start and End dates, and will automatically include the Group itinerary items.
These can be updated if they differ for this specific reservation. - Adjust the reservation start and end dates (if needed).
- Add a trip description that makes sense for you, consider something like:
"Jones Disney Trip 2018 - Smith Reservation". - Add additional itinerary items, such as flights, hotels, transfers, or activities.
See Part 2 for more detail. - Update the itinerary item added by the group by adjusting dates and adding a Room Category.
- Add Travelers (See Part 1).
- Save. Repeat for each additional reservation.
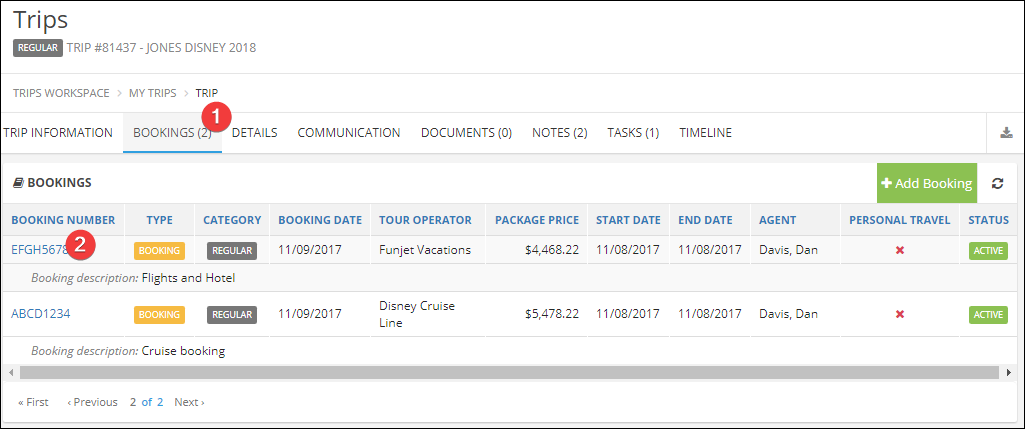
The rest of the reservation is just like a standard trip. Add bookings, send itineraries and invoices, add notes and documents.
Additional Features
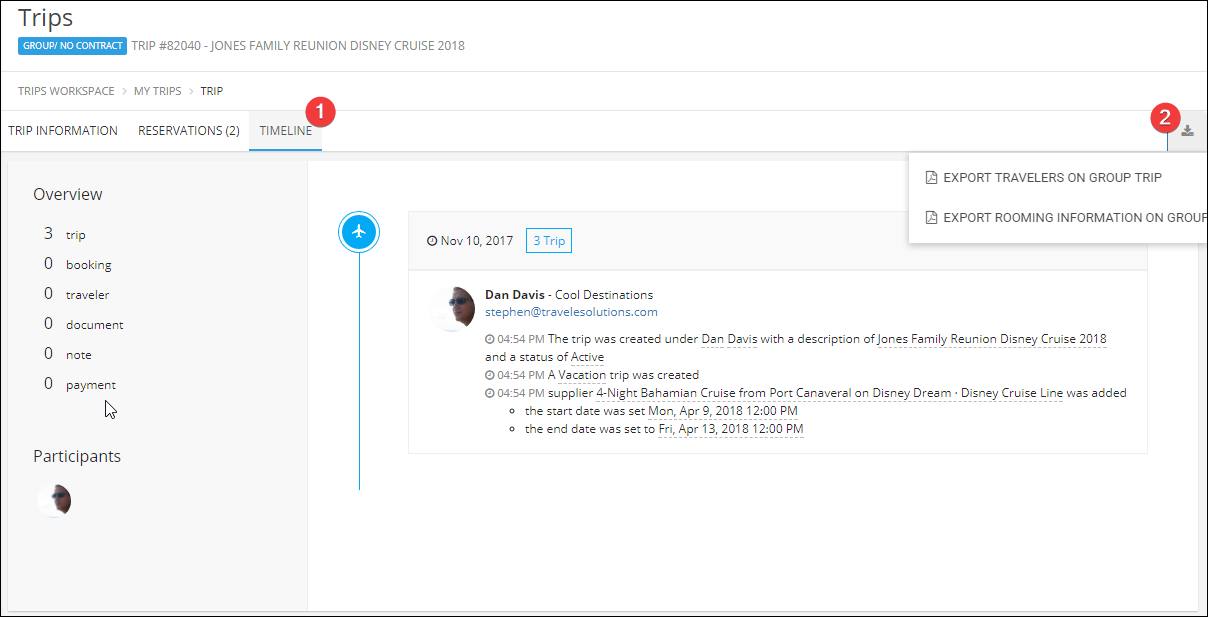
There are two additional features with a group trip:
- In addition to the Reservation Timeline (like a Trip Timeline), there is an additional timeline that shows changes for the group.
- Clicking the Import/Export button gives you options to export traveler information and rooming information. These can be very useful to send to organizers or track in other systems.
The most important thing to remember is that a Reservation is like a Standard Trip, just grouped together with other trips.
Everything you can do on a standard trip you can do on a reservation, so be sure to review the first three sections to understand all of the features of a trip.