Designing Traveling Emails
Tip: This section gives you step by step instructions to create a header, footer, and email template.
You can take a short-cut by simply copying a template that is close to what you want and modifying it.
Remember that we are showing you how to create a template, but you may want your template to look very different. Feel free to experiment and create something unique!
There are a few important concepts in the template designer:
- Grids: You always need to start with a grid. They will provide the structure for your email. There are several different styles to choose from, and you can have as many as you want in a template.
- Widgets: After you put a Grid on your template, drag a widget to start entering content. This may be images, text, icons, etc.
- Controls: When you hover over a grid, control buttons will appear on the right side of the grid. When you hover over a widget, the control buttons will appear at the top of the widget.
Create a Header
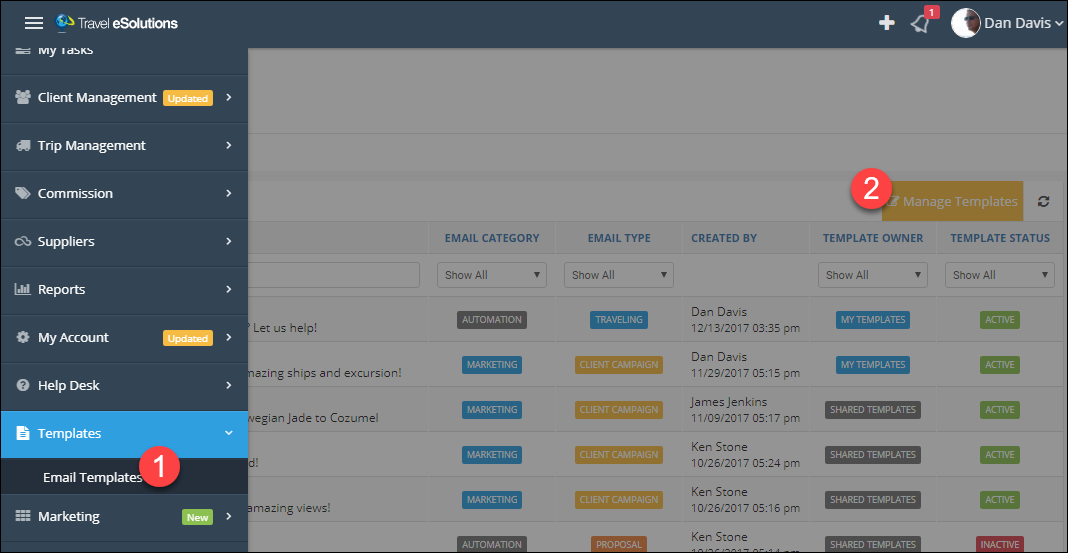
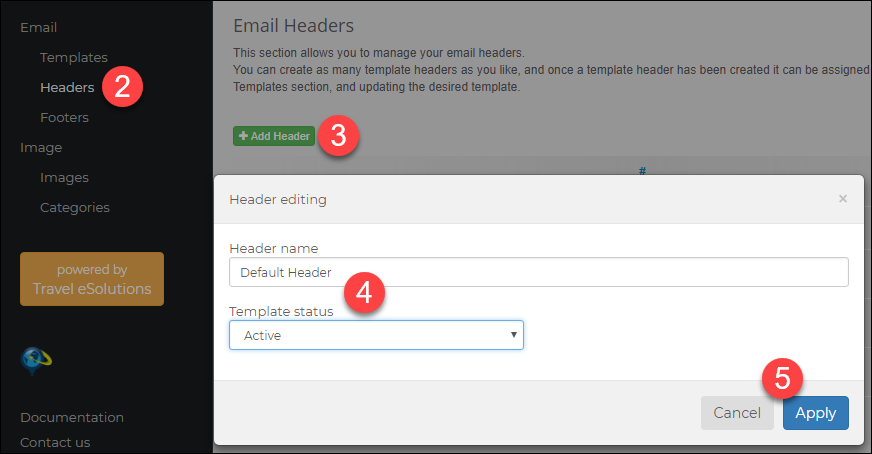
- Click Email Templates under the Templates menu item.
- Click Headers.
- Click Add Header.
- Give your header a name and set its status to Active.
- Click Apply.
- Click your header name to begin customizing it.

Customize Your Header
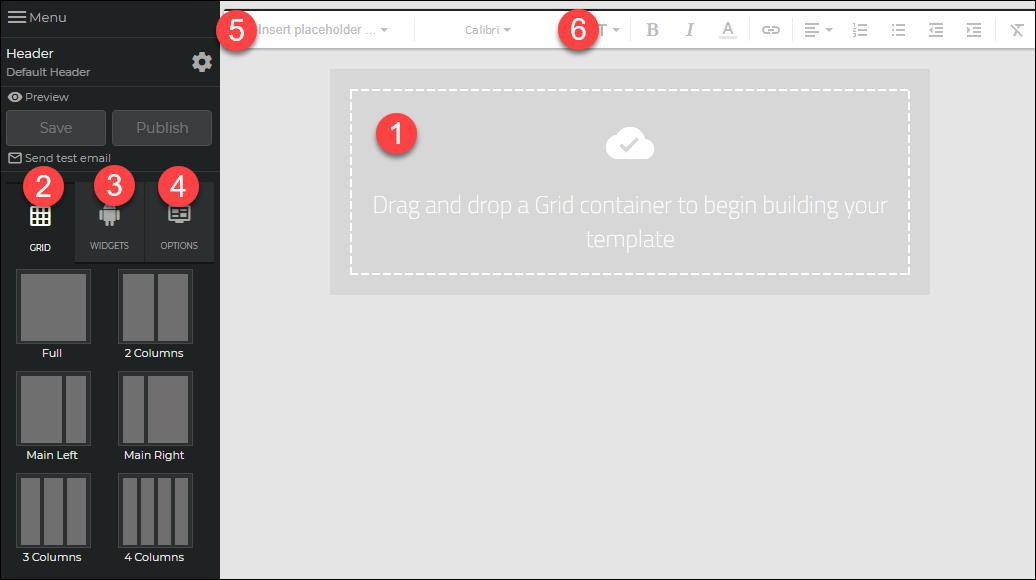
- The canvas is where you will build your headers, footers, and email templates.
- Everything in a template is held in a Grid, and there are several different grid formats you can use.
Each template can have as many grids as needed. - Use Widgets to add content to your template. Widgets will be contained inside grids.
- Your template will default to the most common options, but you can customize it here.
- Placeholders are replaced with data when the email is sent. This might be your contact information or your client's name, for example.
- The other toolbar items are used to customize and format text in your template.
- Begin by dragging a grid to the canvas, here we are using the two column grid.
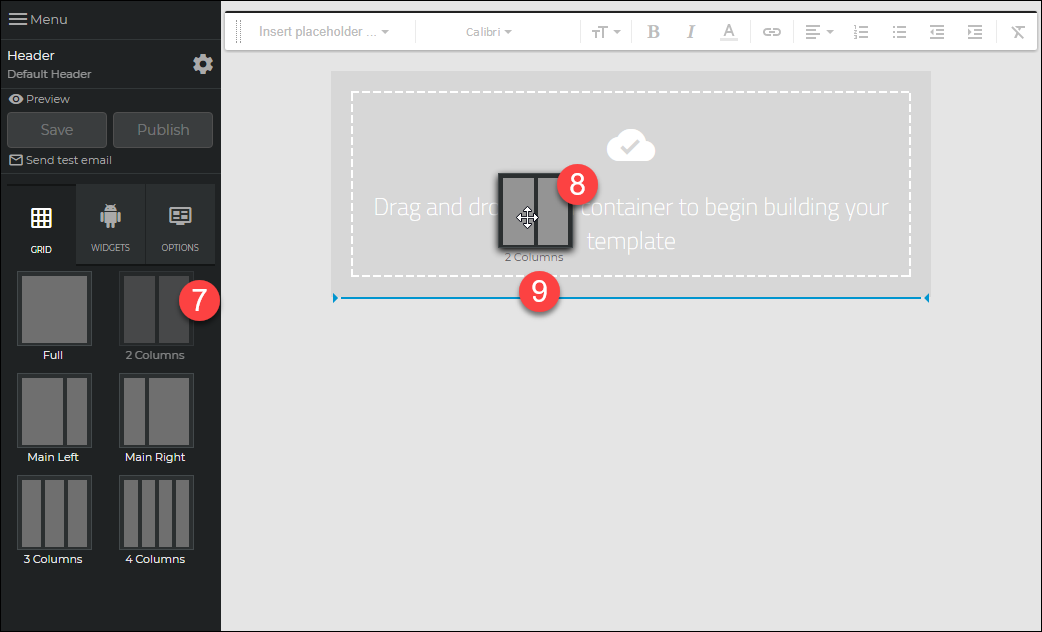
- Simply drop it on your canvas.
- The blue line indicates where the grid will be placed, which is important when you add your second grid.
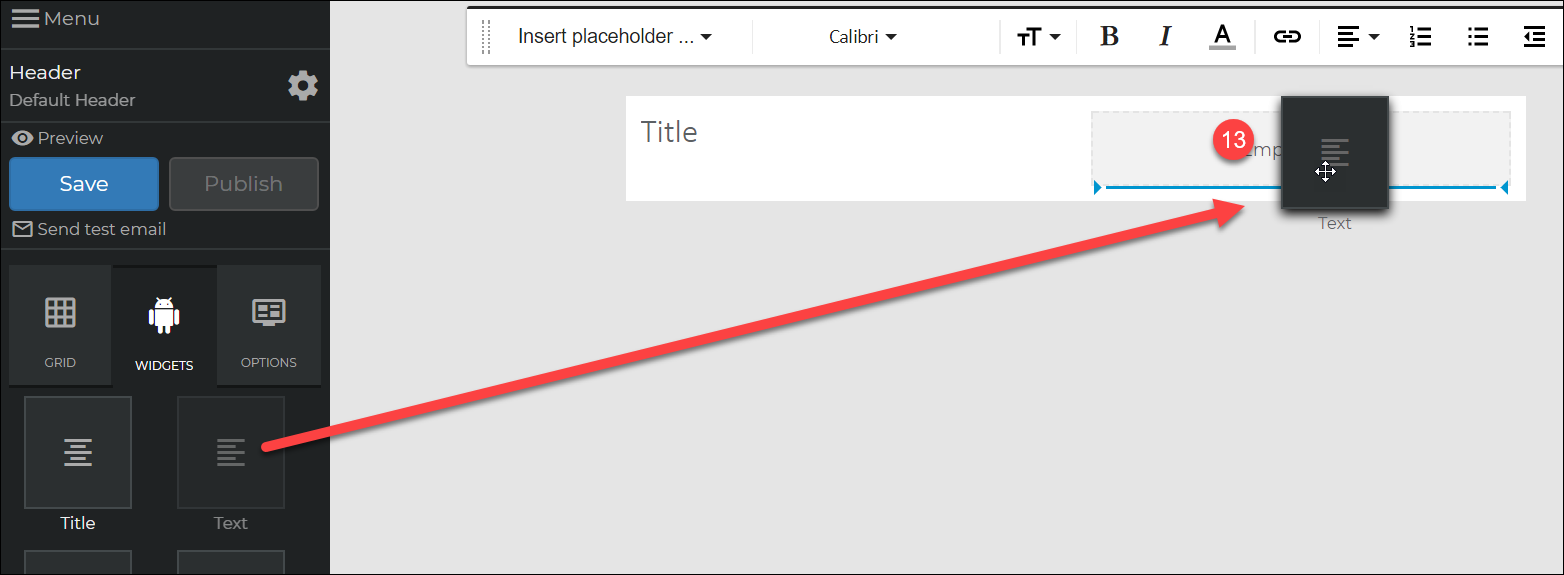
- Select the Widgets tab.
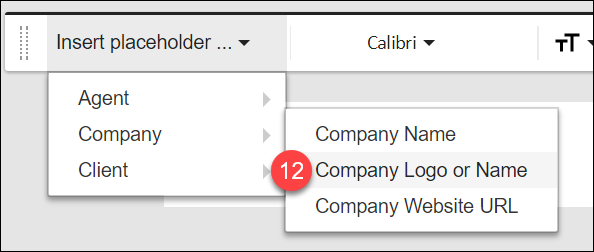
- Drag and drop the Title widget into your first column.
- Select the word "Title" then go to the Insert placeholder menu, under Company, and click Company Logo or Name.
- Drag the Text widget to the right-hand column.
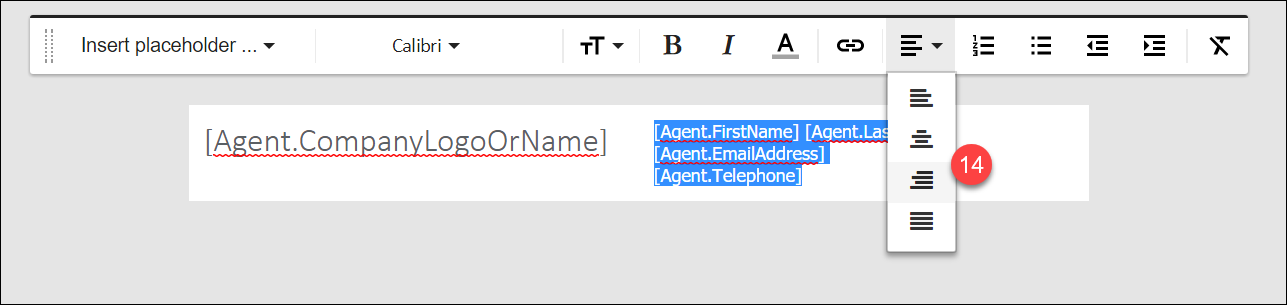
- Select the example text, then go to the Insert placeholder menu and select the contact information you want to include, for example:
[Agent.FirstName] [Agent.LastName]
[Agent.EmailAddress]
[Agent.Telephone]
Then select the text again, click the alignment menu and choose the Right Aligned icon.

Be sure to click Save when you are finished!
Follow the same steps to create a footer.
Create a Template
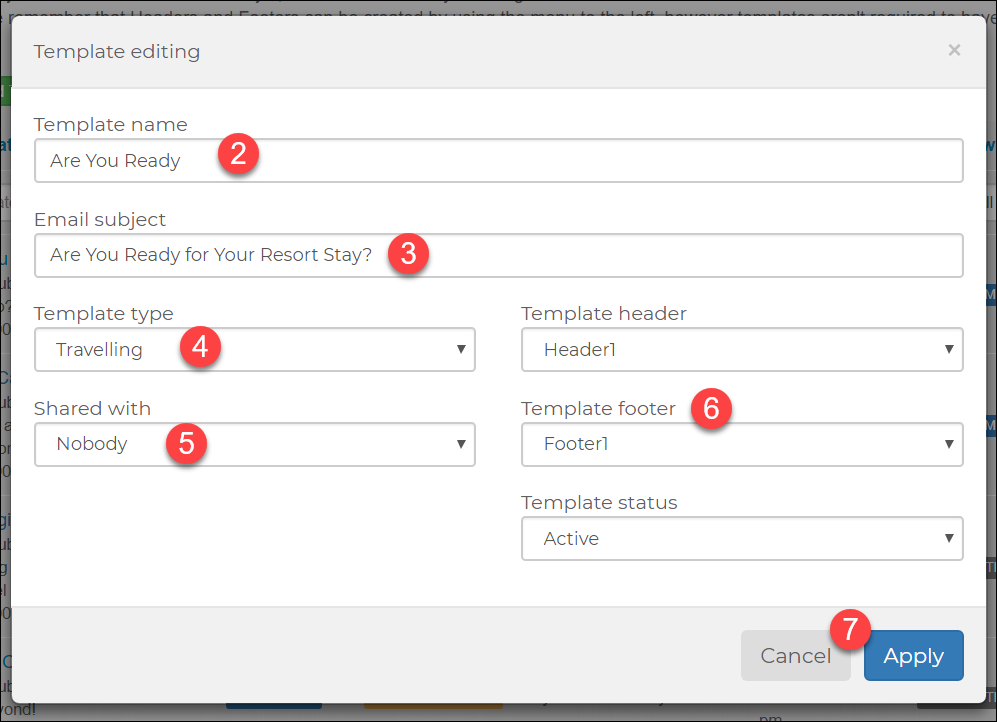
- From the Templates menu click Add Template.
- Name your template; clients will not see this so make it something easy to find.
- Add a subject, clients will see this; it will be the subject of the email sent to them.
- Choose the template type. If this will be related to a trip choose Traveling or Invoice, if it is Marketing choose Client Campaign.
- If you are an admin you can choose to share it with your agency.
- Select the Header and Footer you just created.
- Click Apply to create your template, then click the template name in the list to begin editing it.
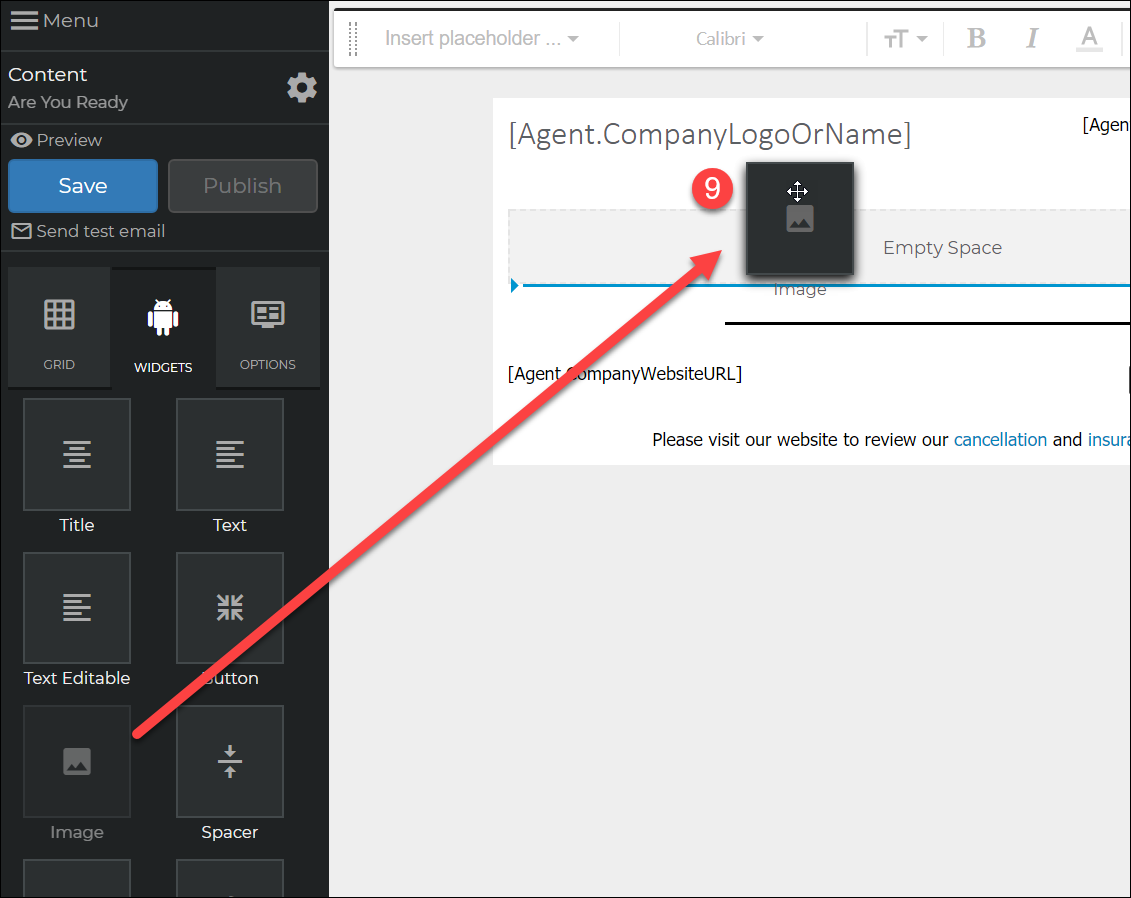
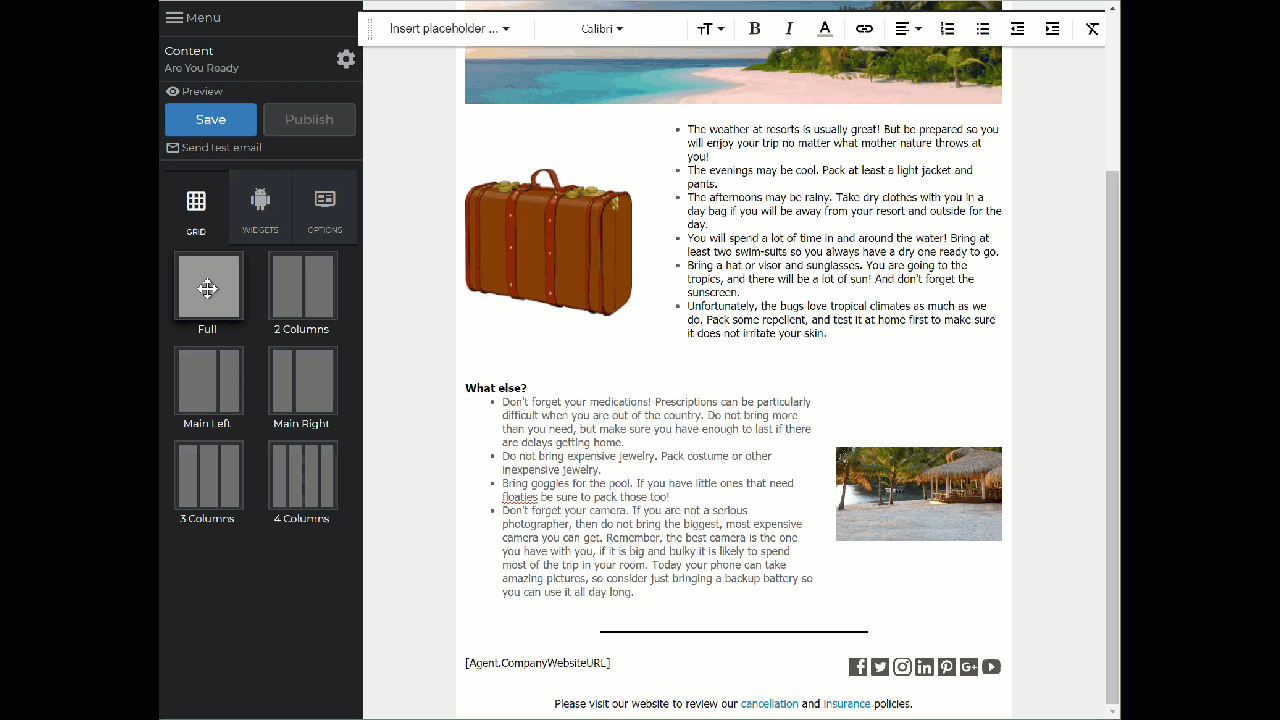
- Start by dragging a full-width Grid to your template for a cover photo.
- Click the Widget tab then drag an Image Widget to your grid.
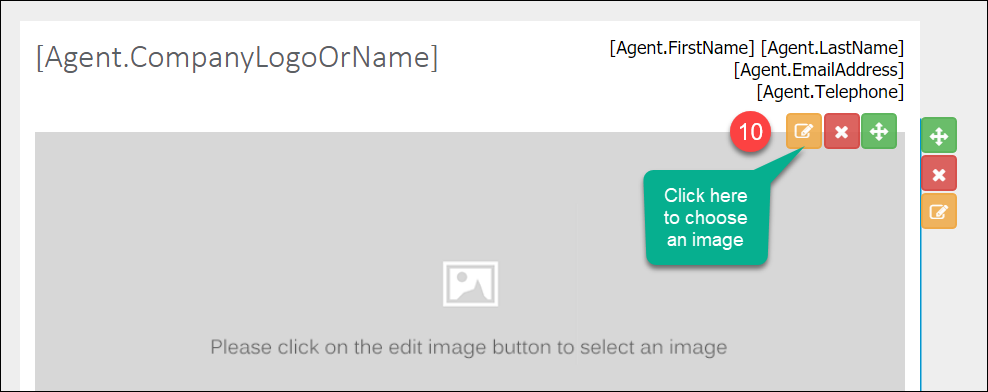
- Click the widget edit button to choose an image.
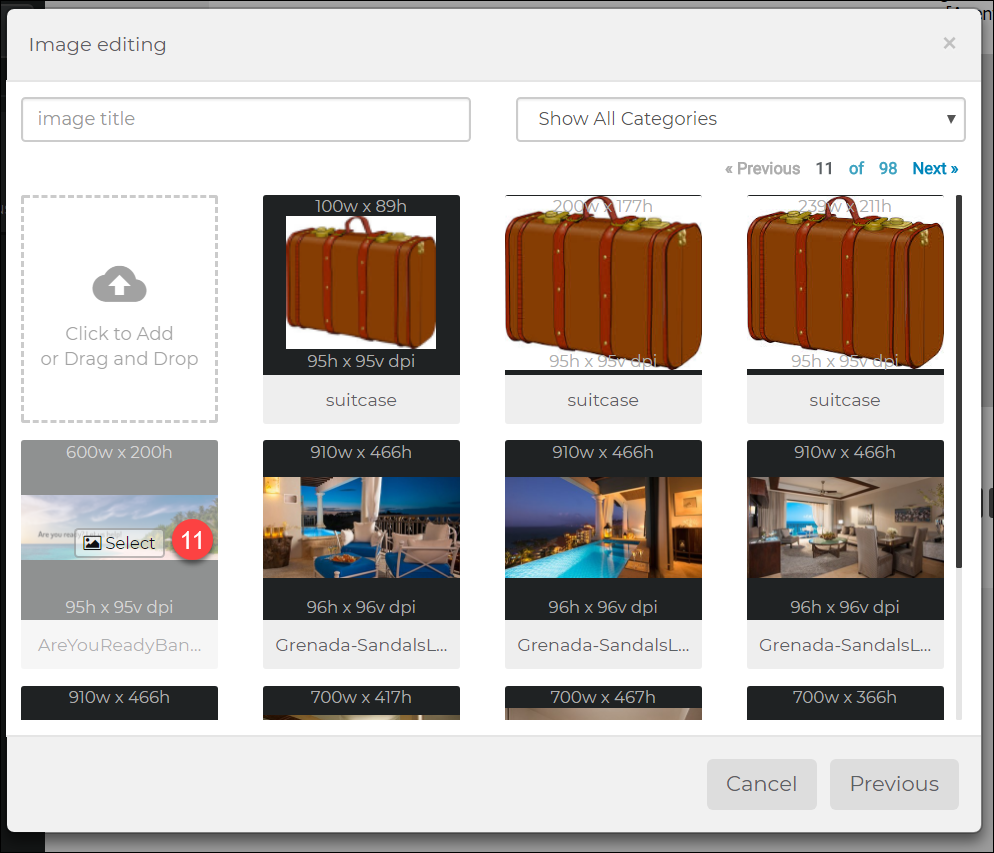
- Click Select under My Images then hover over an image and click Select.
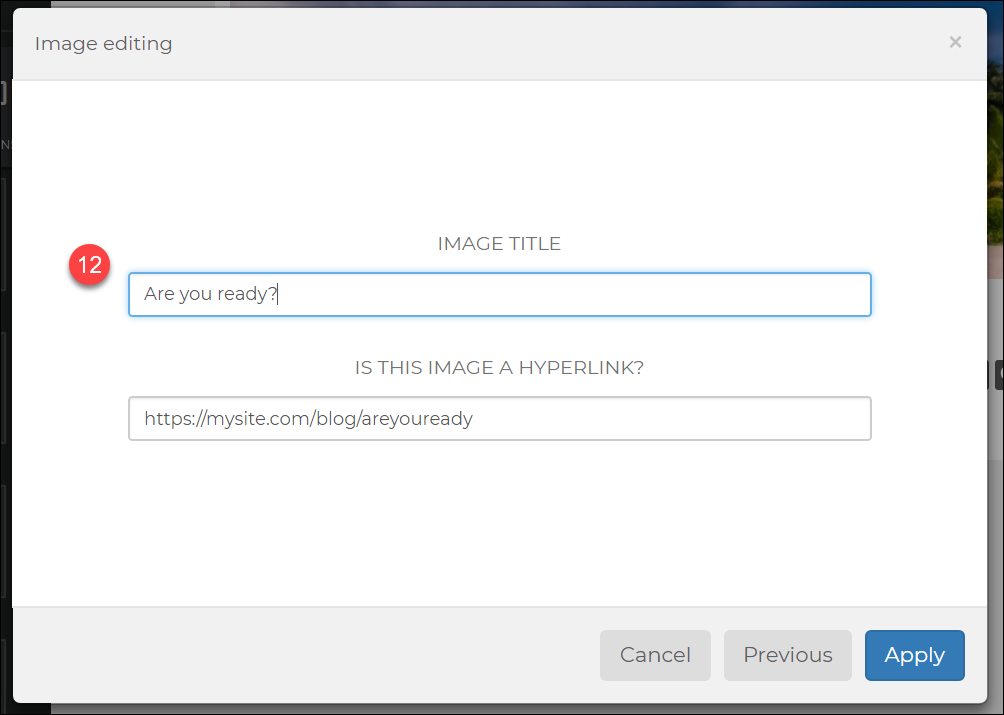
You can drag and drop additional images inside the dotted line to add images. - Add an image title; this is important for email programs that do not load images, and for visually impaired clients who use screen readers.
If you want the image to be a link back to your website, add a URL. For example, you may have a blog post that covers this same topic, or a form you want them to fill out.
Click Apply. - Drag a "Main Right" grid to your template; it will be placed where the blue line shows up.
Drag an Image widget to the left column and a Text widget to the right column.
Choose an image, just like the previous step. Add some text and experiment with adding bold text, bullets, and other formatting in the toolbar. - Now drag a Main Left grid and set one up with the opposite spacing.
- Finally, add another full grid and drop a Button widget in it.
Select the edit button on the right then choose the #1 column to set the alignment to Center.
Select the edit button at the top, add custom text and a custom URL.