Reconcile Commission Checks
Reconcile a New Check
- In this section, you will learn how to account for money that you have received from a supplier. Typically this will be commission money for you or your agents, but could also be a bonus or other source of money.
- It is important to fully reconcile a check so you know that you have received payments for everything you are owed, and so you know if you owe agents a commission.
- You can reconcile checks anytime. We recommend reconciling them as you receive them which will make payday easier.
- In TESS we often refer to "checks", both when you are receiving money and when you are paying money. Most often you will be moving money electronically; we use the term "check" as a generic term to refer to these funds.
To Get Started
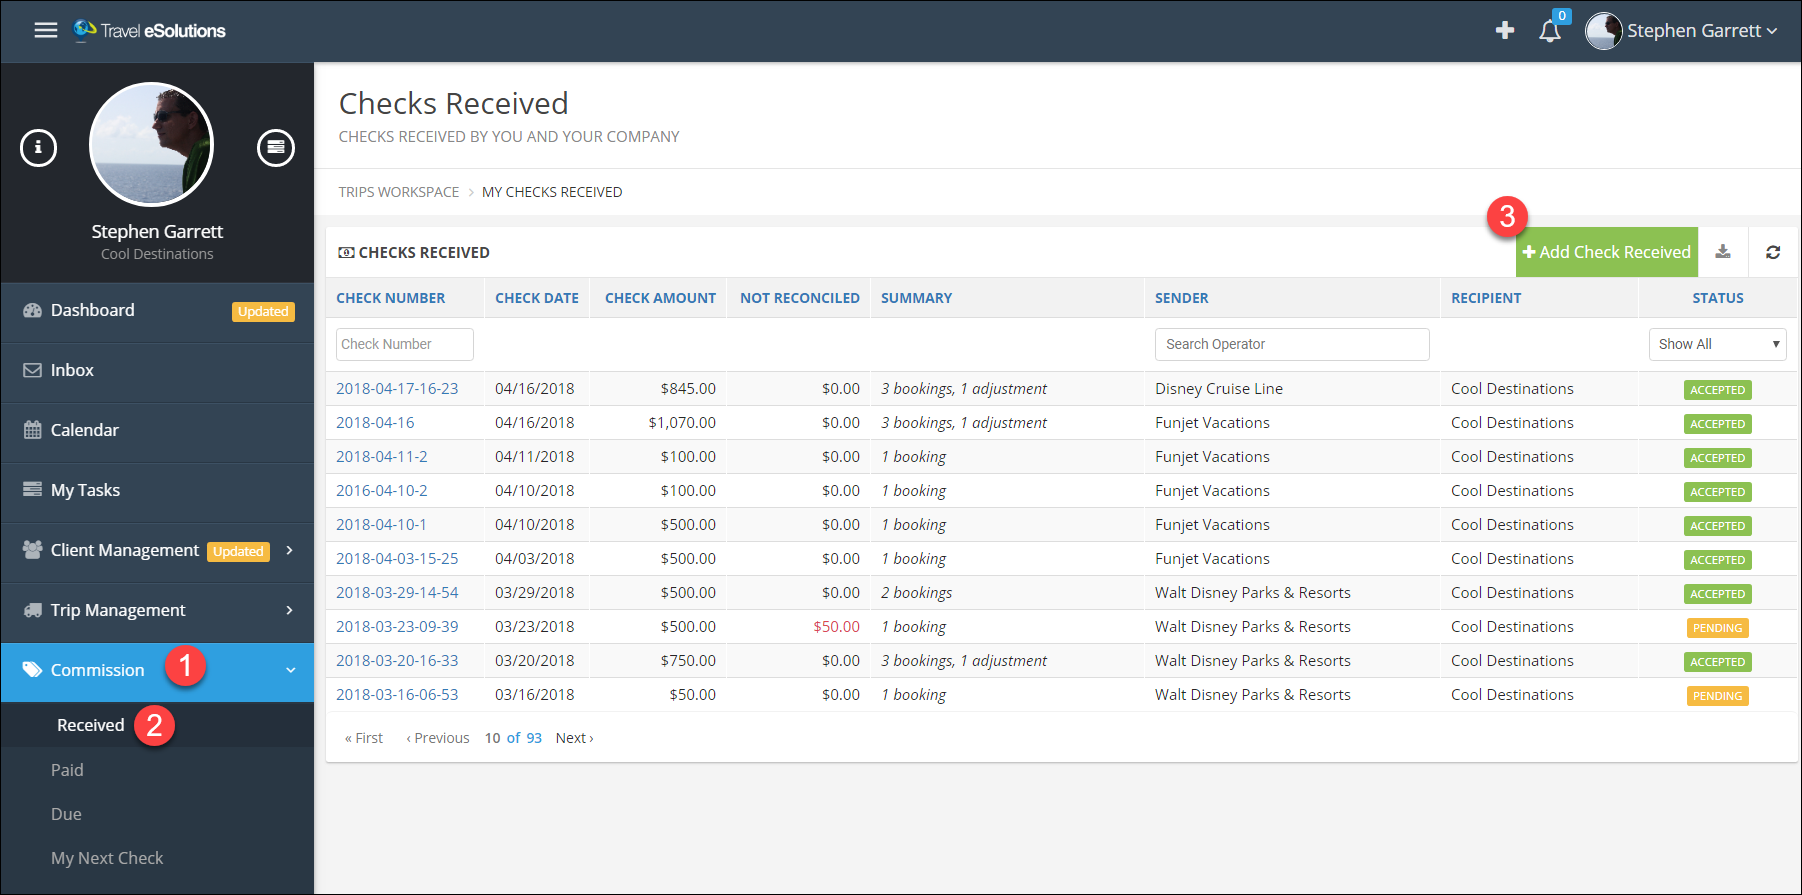
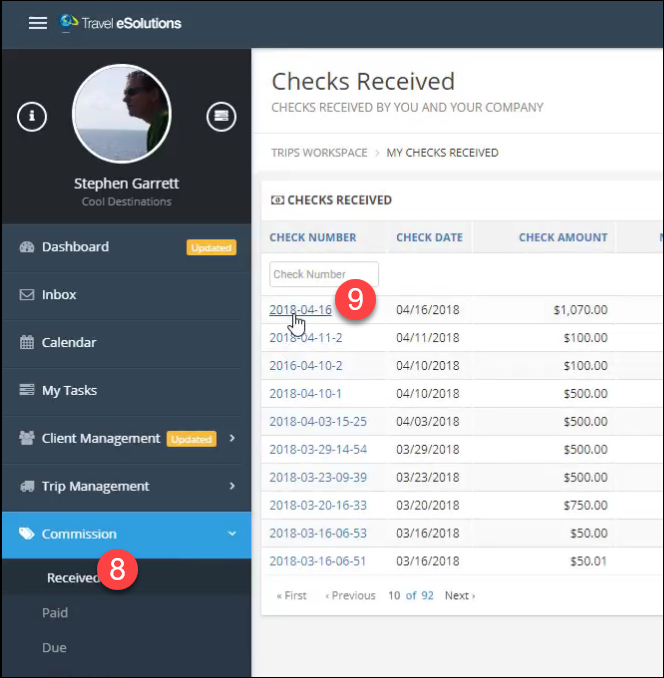
- Click Commission in the main menu.
- The task list shows all tasks across the agency - agents only see their own.
- Click Add Check Received.
Enter a Check
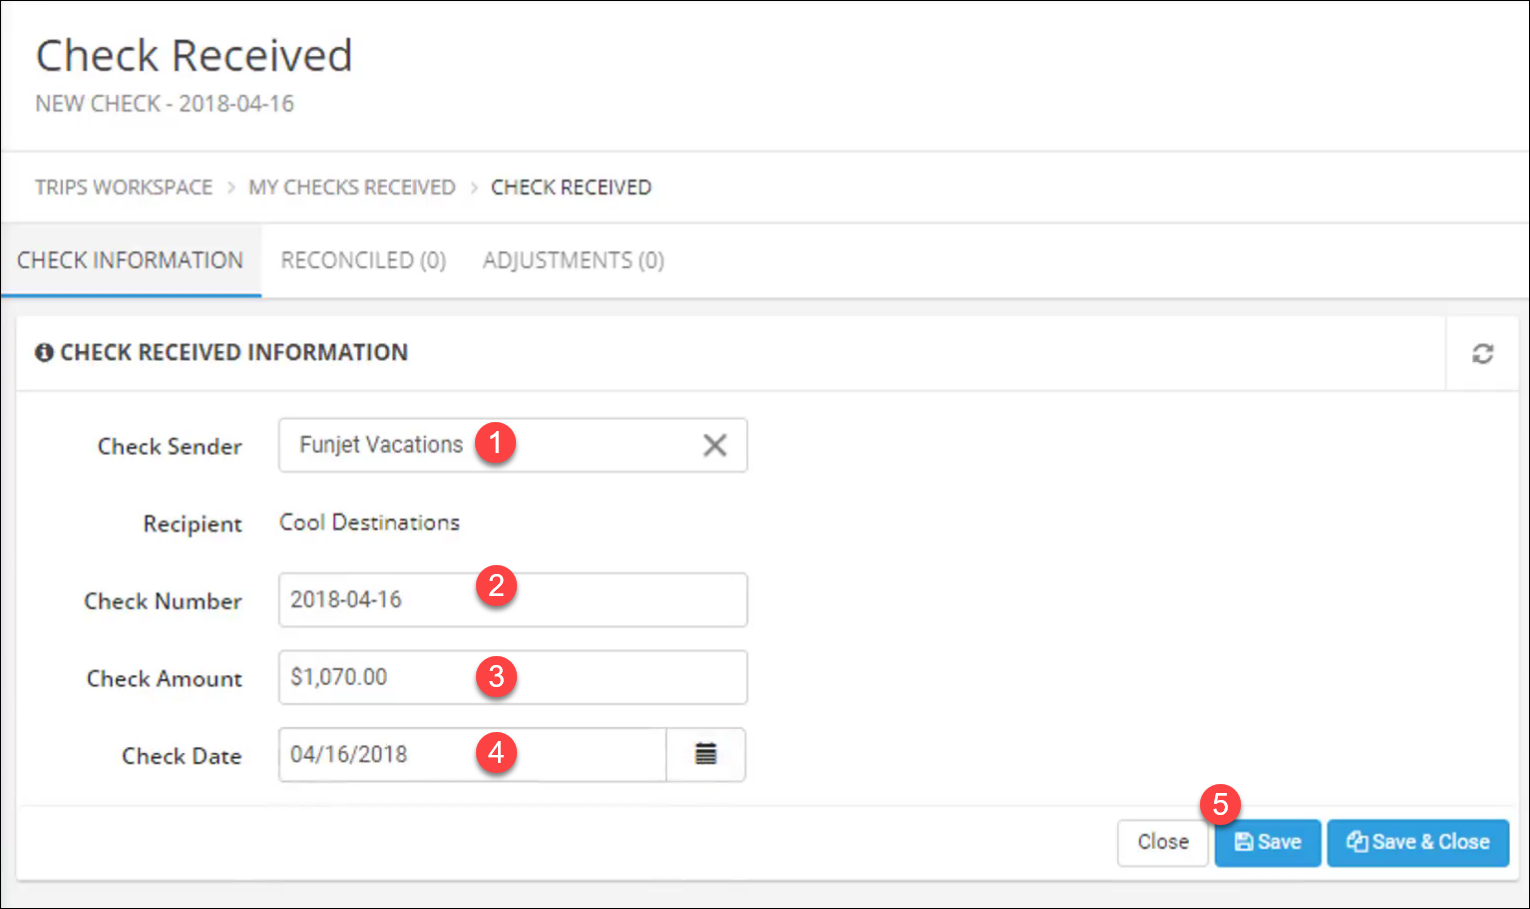
- Enter the Check Sender name. This is usually the company that sent the check and is also usually the company that is the Operator listed on the booking. There are times when these can be different, so if the check sender and booking do not match it will not cause any problems.
- Enter the Check Number. Usually, you will not have a physical check, use the transaction number or serial number that the suppliers gave you, or you can just use a date stamp. In the example, we used a year-month-day number as an example.
- Enter the Check Amount. This is the total actual amount of the deposit you received. Don't worry about trying to account for things that you know are not in the system, we will cover how to add those.
- Enter the Check Date. This can be the data on the transaction or the date the deposit posted to your account. We recommend being consistent with the date you use.
- Click Save.
Reconcile Bookings
- Click the Reconciled tab.
- Enter the booking number or other information in one of the search fields.
- When you see the booking you are searching for, click the Add button at the right end of the row.
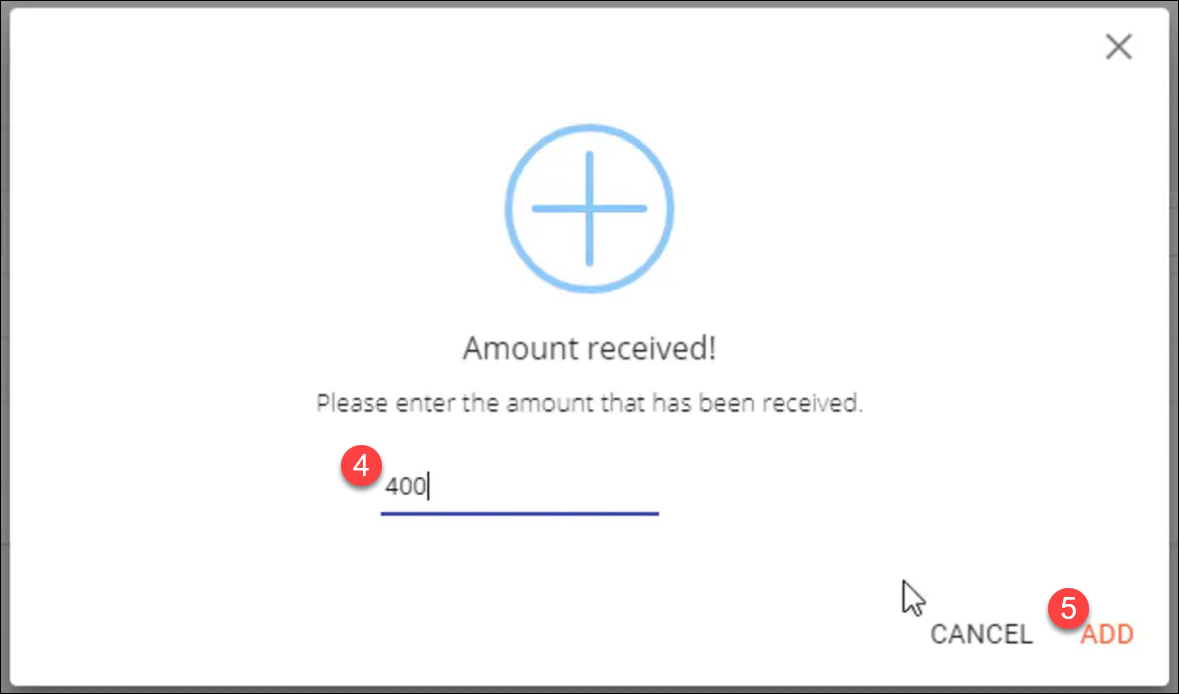
- In the form that pops up, enter the amount you received for this booking. Often this amount will be different than what the agent expected, so be sure to enter what you actually received.
- Click Add.
Repeat this process for each booking. You will see in the top section that the Amount Reconciled increases and the Amount not Reconciled decreases as you add bookings.

Add an Unclaimed Booking
Sometimes when you are reconciling checks, you will not be able to find the booking. Be sure to search by trip description or trip date in case there was a typo in the booking number. If you still do not see it, the agent may have forgotten to enter the booking in TESS. We can add this as an unclaimed booking.
- Search by Booking Number or other fields.
- If a Booking is not found the Add Unclaimed button will become visible to click.
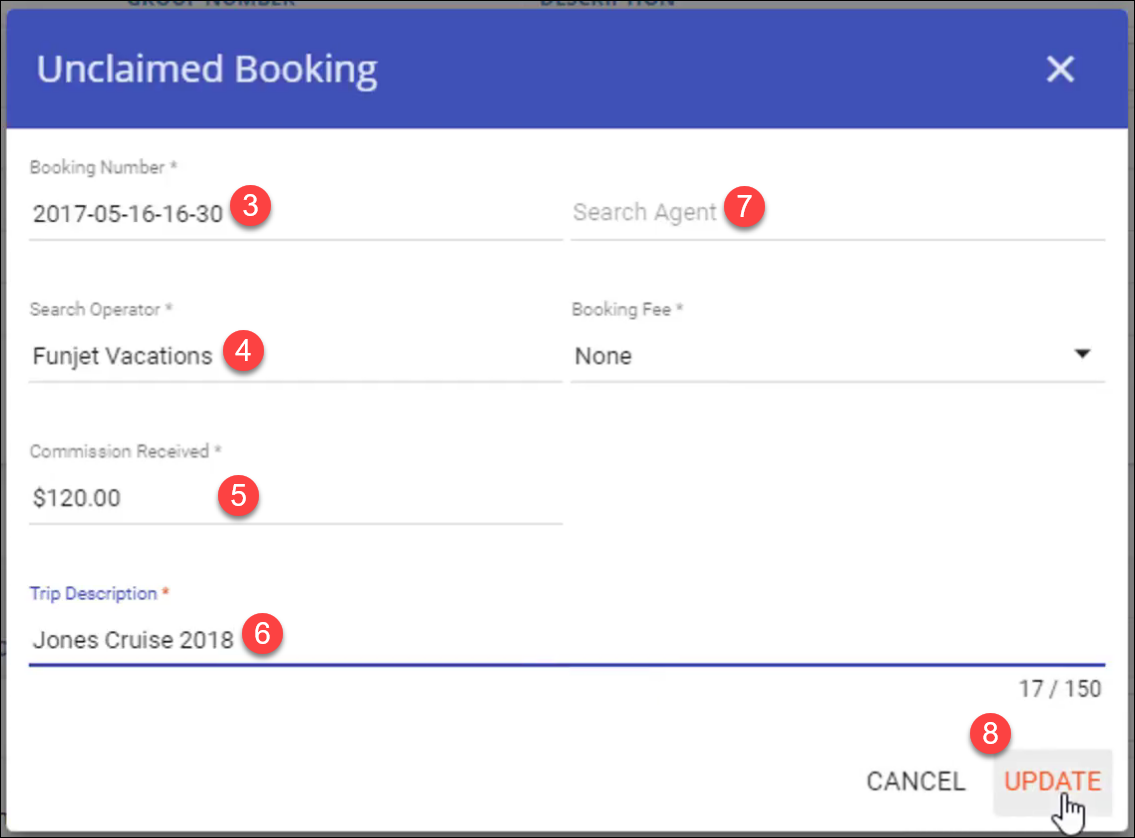
- Enter the Booking Number.
- Enter the Operator (usually the same as the check sender).
- Enter the amount received.
- Enter any information about the trip that was provided by the operator, such as traveler name or destination.
- Optional: If you know which agent should be associated with this booking, you can enter their name and create the booking automatically. You can also include a booking fee if you charge agents who do not record their bookings.

By reconciling bookings and unclaimed bookings you may have fully reconciled the check. If you have, you can skip to the Accepting The Check section.
Company Adjustments
If the supplier included money in the check that is not related to a booking, such as a bonus, co-op advertising, fee refunds, etc., you can reconcile them using a Company Adjustment. These adjustments can be added to TESS anytime so they are available to reconcile to the check when you receive it. If you know you already have adjustments available in the system, skip to step 10.
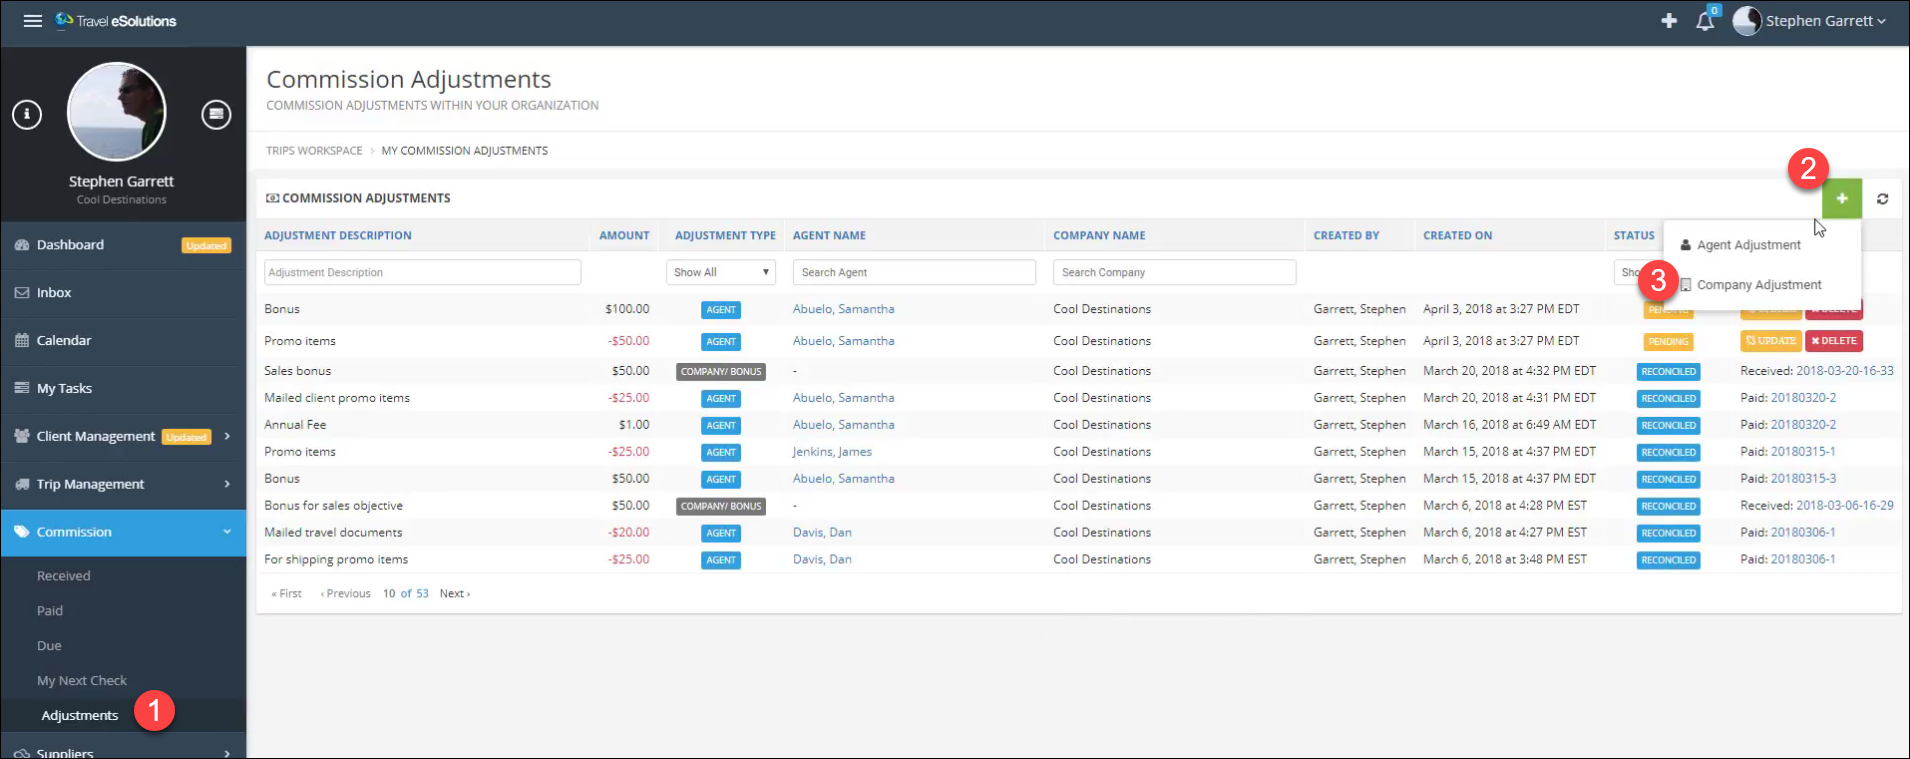
- Under the Commission menu, click Adjustments.
- Click the green and white plus (+) icon.
- Click Company Adjustment.
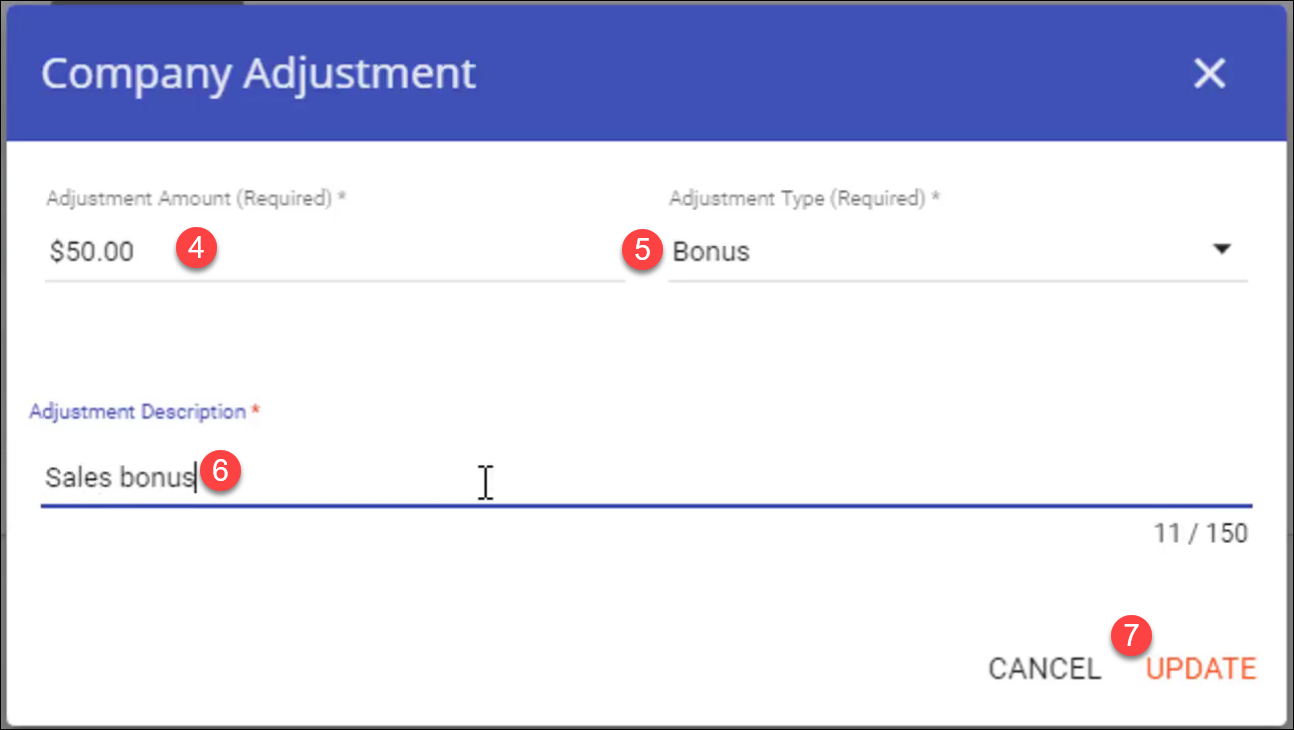
- In the window that opens, enter the amount you expected to receive. If you were not expecting these funds you can enter the actual amount received.
- Choose the Adjustment Type.
- Enter a Description.
- Click Update.
- Return to the Check you were working on by clicking Received.
- Then click the Check Number for the Check you are working with (it should be at or near the top).
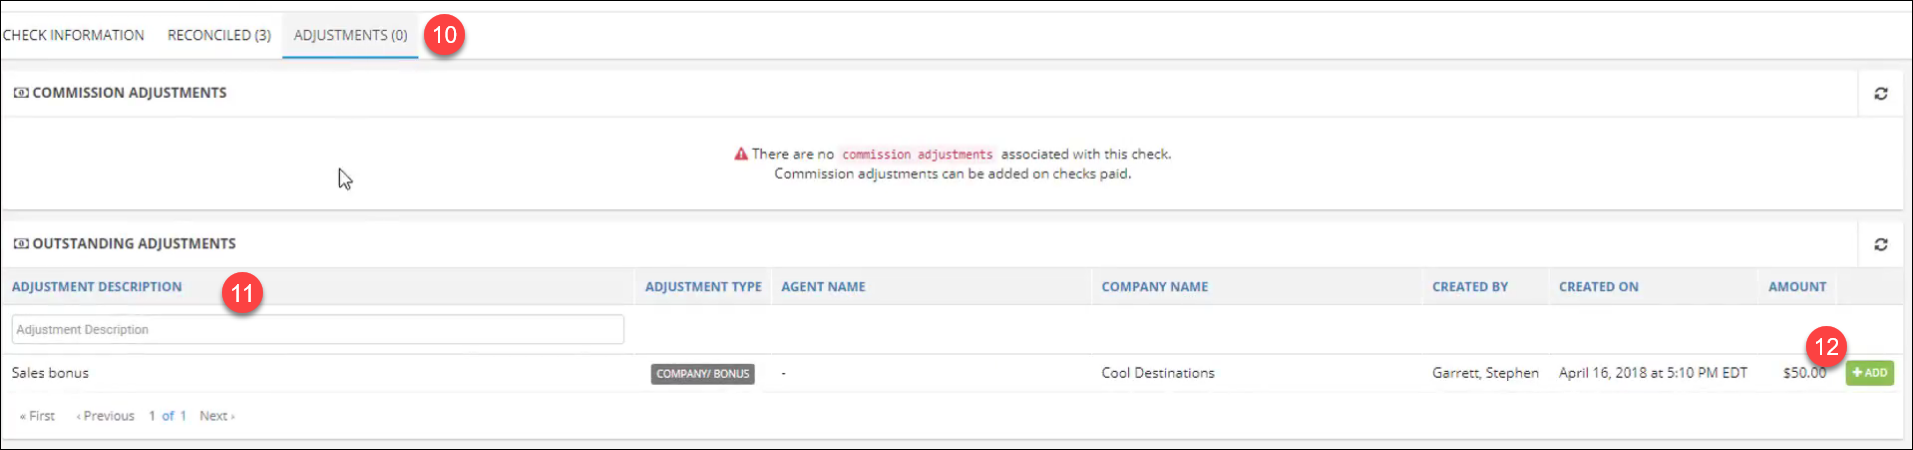
- Go to the Adjustments tab.
- Search for the Adjustment you need or find it in the list.
- Click Add at the end of the row.
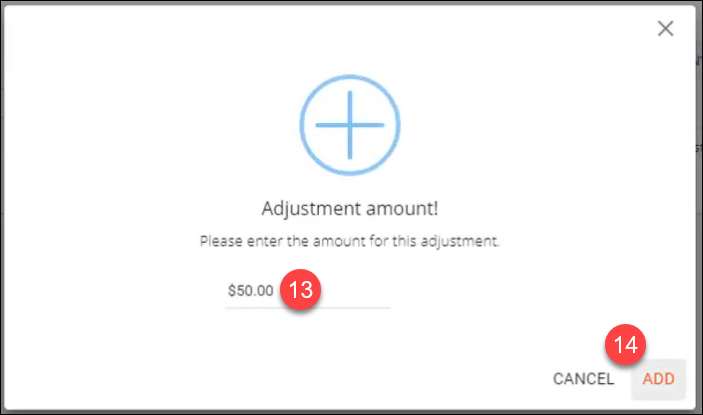
- Enter the actual amount received, which may be different than what you expected to receive.
- Click Add.
Accepting and Recalling Checks
Repeat the above steps, reconciling bookings, adding unclaimed bookings, and adding adjustments until the check is fully reconciled.
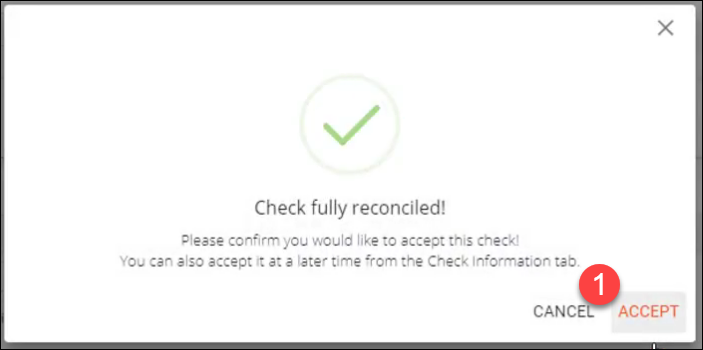
- When the check is fully reconciled a message will pop up asking you to Accept or Cancel. Accepting the check here will essentially "lock" it to prevent further changes. If you click Cancel, you can still accept it from the Check Information tab anytime.
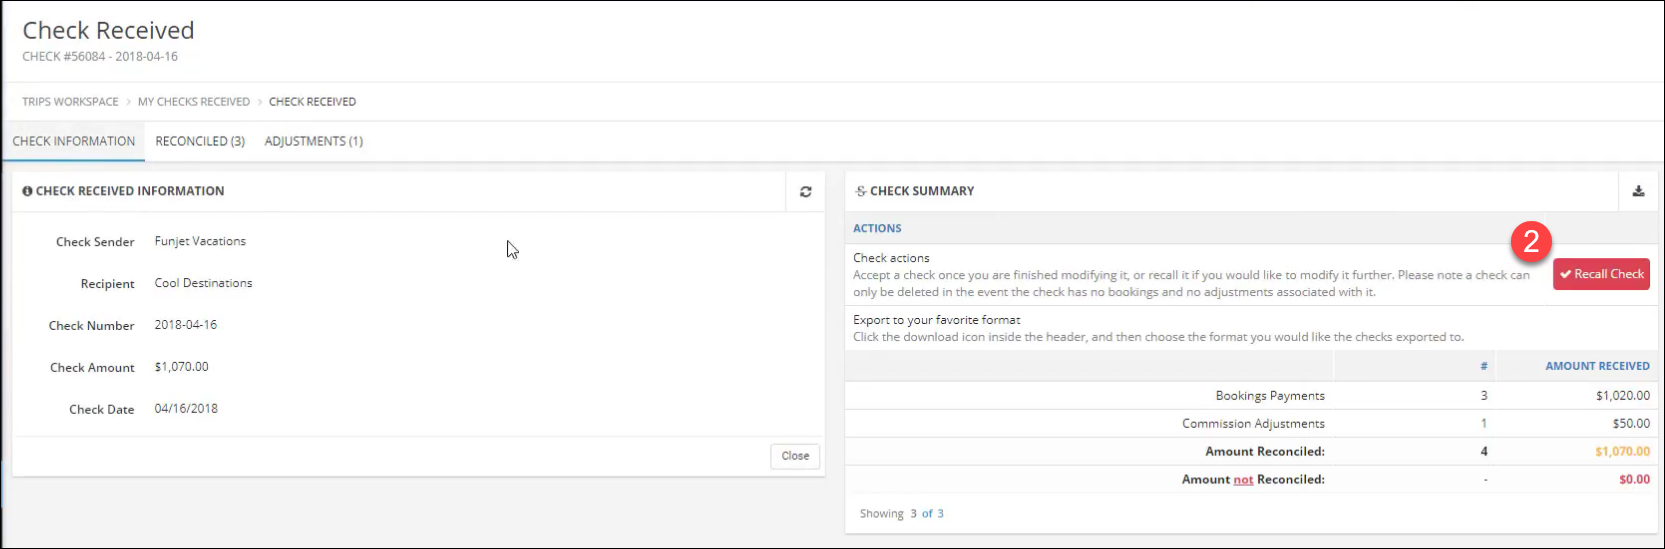
- At this point, you can also Recall a check that you have accepted. Once you have issued paychecks based on this check you will not be able to recall it without first recalling those paychecks.