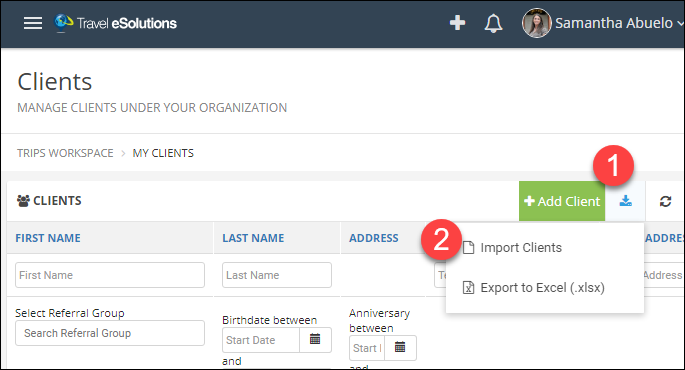
From your client list, click the Import/Export button in the upper right corner.
Click Import Clients.
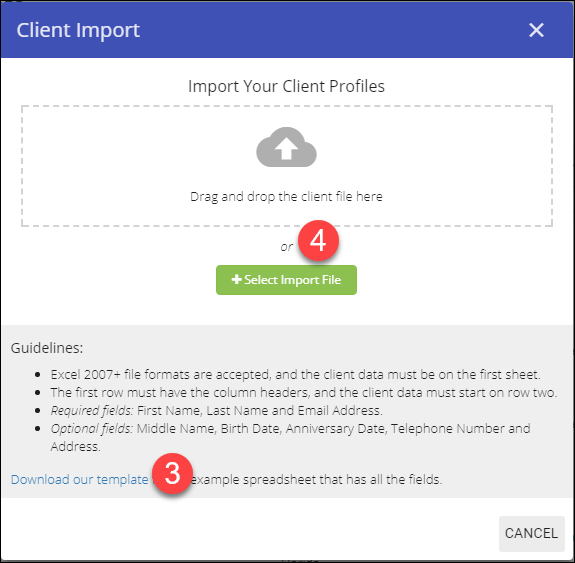
Download the TESS template, or use your own.
When your template is ready, drag and drop it inside the dotted lines, or click Select Import File to browse for it on your computer.
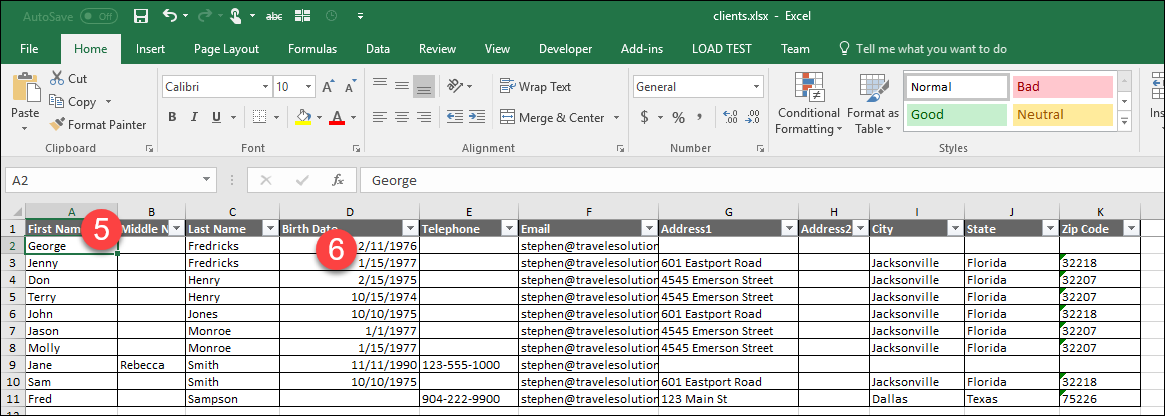
Your file should look something like this. First and Last Names are required.
If you include birthday or anniversary dates, make sure they are valid dates (for example, Sep.15 and 2/30/2000 are both invalid dates).
Make sure you do not have any blank lines in your file.
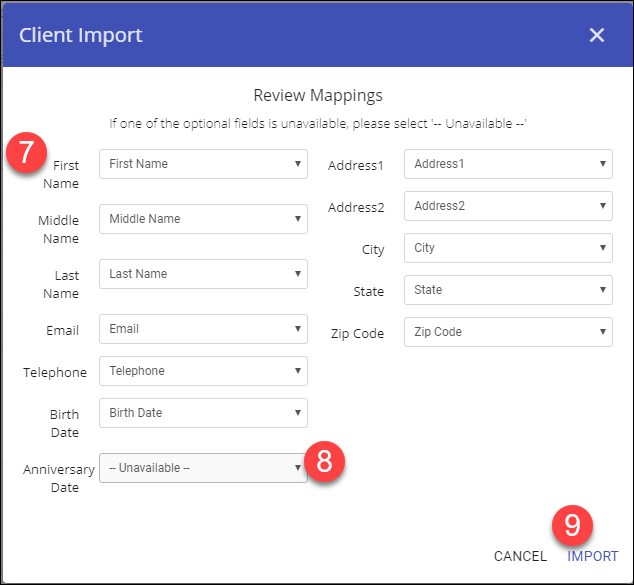
If you used the TESS template, the fields should match automatically, if not just choose the field in the drop-down list that matches the field on the form.
If you are missing any of the fields that are not required, choose Unavailable from the list.
Click Import.
You should get a confirmation of success with a green check mark.
If you get an error and a red X, double check to make sure you do not have any missing names or invalid dates.
If you do not see what is causing your error, send your file to support@travelesolutions.com and we will help you import it.
Step 2: Export Clients
From your client list, click the Import/Export button in the upper right corner.
Click Export to Excel.
The Excel file will be downloaded automatically. Where it shows up varies depending on the browser you are using.
For Chrome it will usually show up at the bottom of your window.
If you have Excel installed, you can open the file directly in Excel.
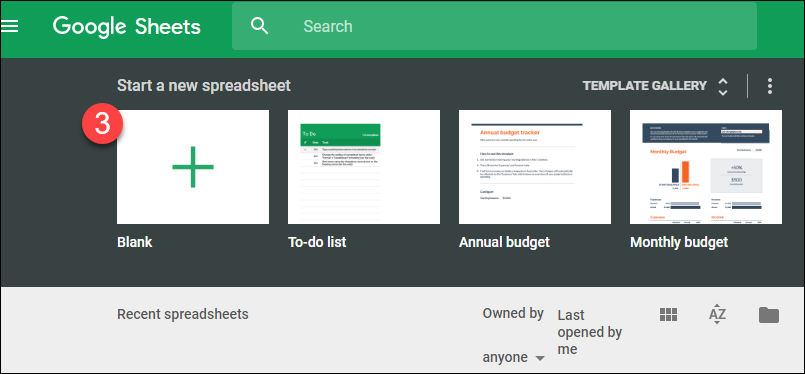
To open the file in Google Sheets, go to sheets.google.com then click the plus (+) icon.
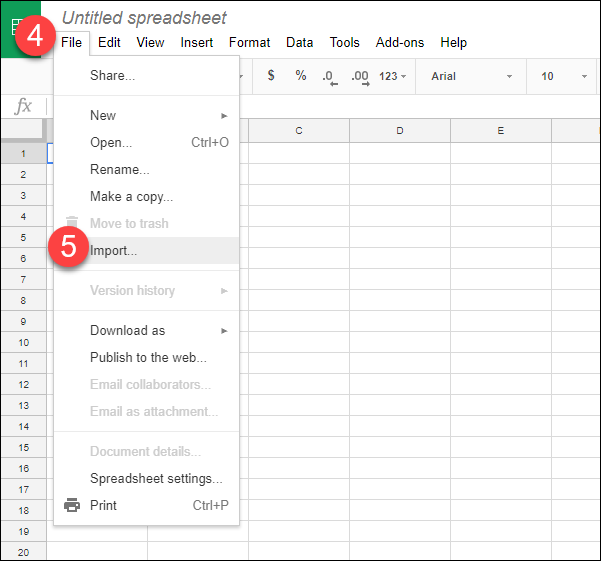
Click File.
Click Import.
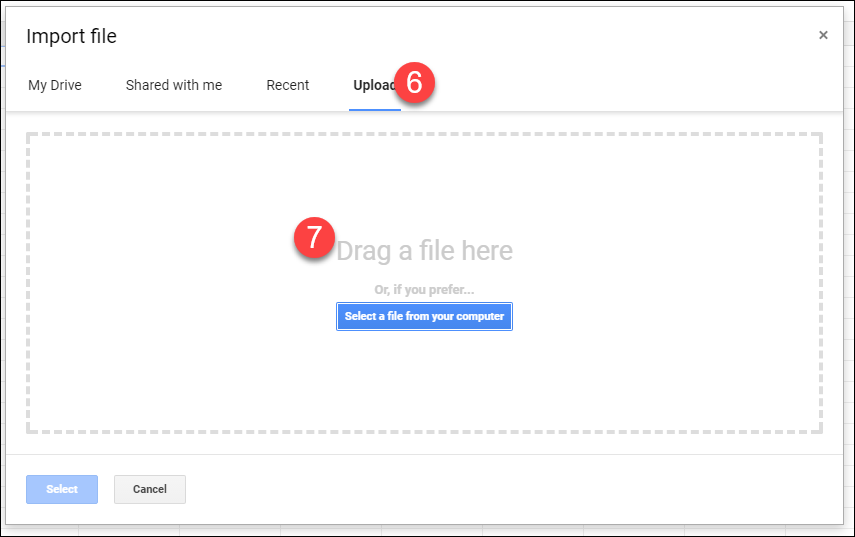
Click the Upload tab.
Drag and drop the Excel file inside the dotted lines.